Bicycle Tools
This page is all about introducing people to bicycle-specific tools they may need after purchasing their entry-level bike.
DISCLAIMER: Please note that I am not sponsored by any brands mentioned in this page. Most of what you see I either own or am personally interested in.
DISCLAIMER: The opinions reflected on any third-party links mentioned in this page may or may not match my own.
Saddle bag tools
Here are some tools you should carry with you (backpack and/or saddle bag) for repairs when on the field:
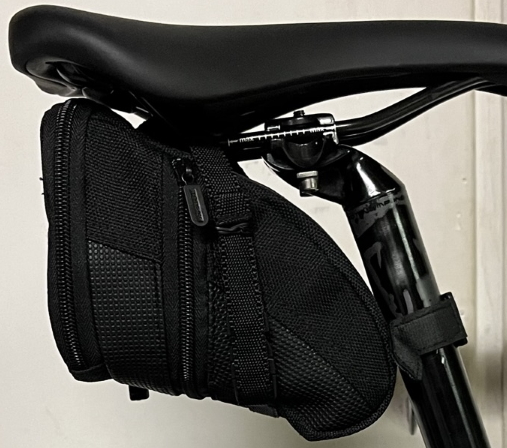 |
Saddle bag | The saddle bag itself. Click on the picture on the left to see a sampling of a couple of different saddle bags. NOTE: If you have a dropper post, a saddle bag may interfere with the dropper post's functionality. If the saddle bag will not rub against the back tire when you drop the post, you may still have to purchase a "Wolf Tooth Components Valais" (25mm or 26mm stanchion diameter) adapter so as to not damage your stanchion (the adapter also works as a travel limiter, so keep in mind that the travel of your dropper post will be reduced because of this adapter). |
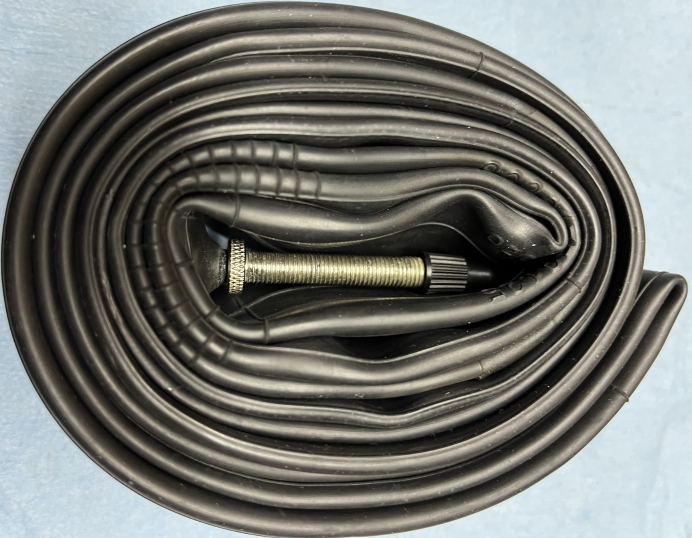 |
Spare inner tube(s) | Bring one (or two for a road bike) spare tire inner tubes matching the size of your tires. Even users of tubeless tires should carry one tube (and a tire boot) in the event there is a hole too big for the sealant to work. |
 |
Mini pump (OR CO2 cartridge and inflator) | A CO2 cartridge is small and fast to inflation but single-use (so you may want to bring more than one or bring one along with a pump). As for a pump, you can find one small enough to fit into a large saddle bag, or use the mount that often comes with the pump to mount the pump to your bicycle frame. The smaller the pump, the more pumping you will need to do to achieve the desired tire pressure. |
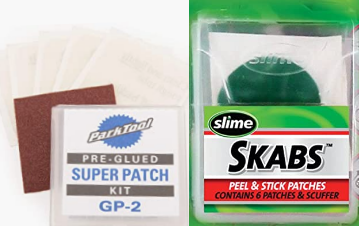 |
Inner tube patch kit | You can buy the pre-glued patches in a neat little box for (fast, convenient, but some people say they are more of a temporary solution to get you home because the seal breaks for a variety of reasons), or you can use a kit that has patches (or pieces of an old inner tube (preferably a thinner, ligter tube)) and rubber cement. NOTE: Not really applicable to tubeless tires, because they use tire sealant to auto-seal any punctures. TIP (for rubber cement/glue): either keep your tube of rubber cement sealed, or regularly check (usually some time before a big ride) that the opened tube of glue/cement has not dried out. |
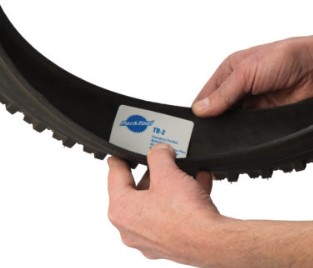 |
Tire boot | A tire boot can get you up and running in the event your tire sidewall gets torn. If the tire sidewall gets torn, the inner tube has a place to "escape" due to the air pressure. NOTE: If you are already stuck on the road without a tire boot, a last-resort way to get you home is to use the wrapper of an energy gel or even folded-up paper money as a tire boot, as long as it's flexible and sturdy enough (does not need to be glued; the pressure of the tire tube should hold it in place) to get you back to your house/car. You might want to not inflate the tire as much as you normally would; just enough to get you home. |
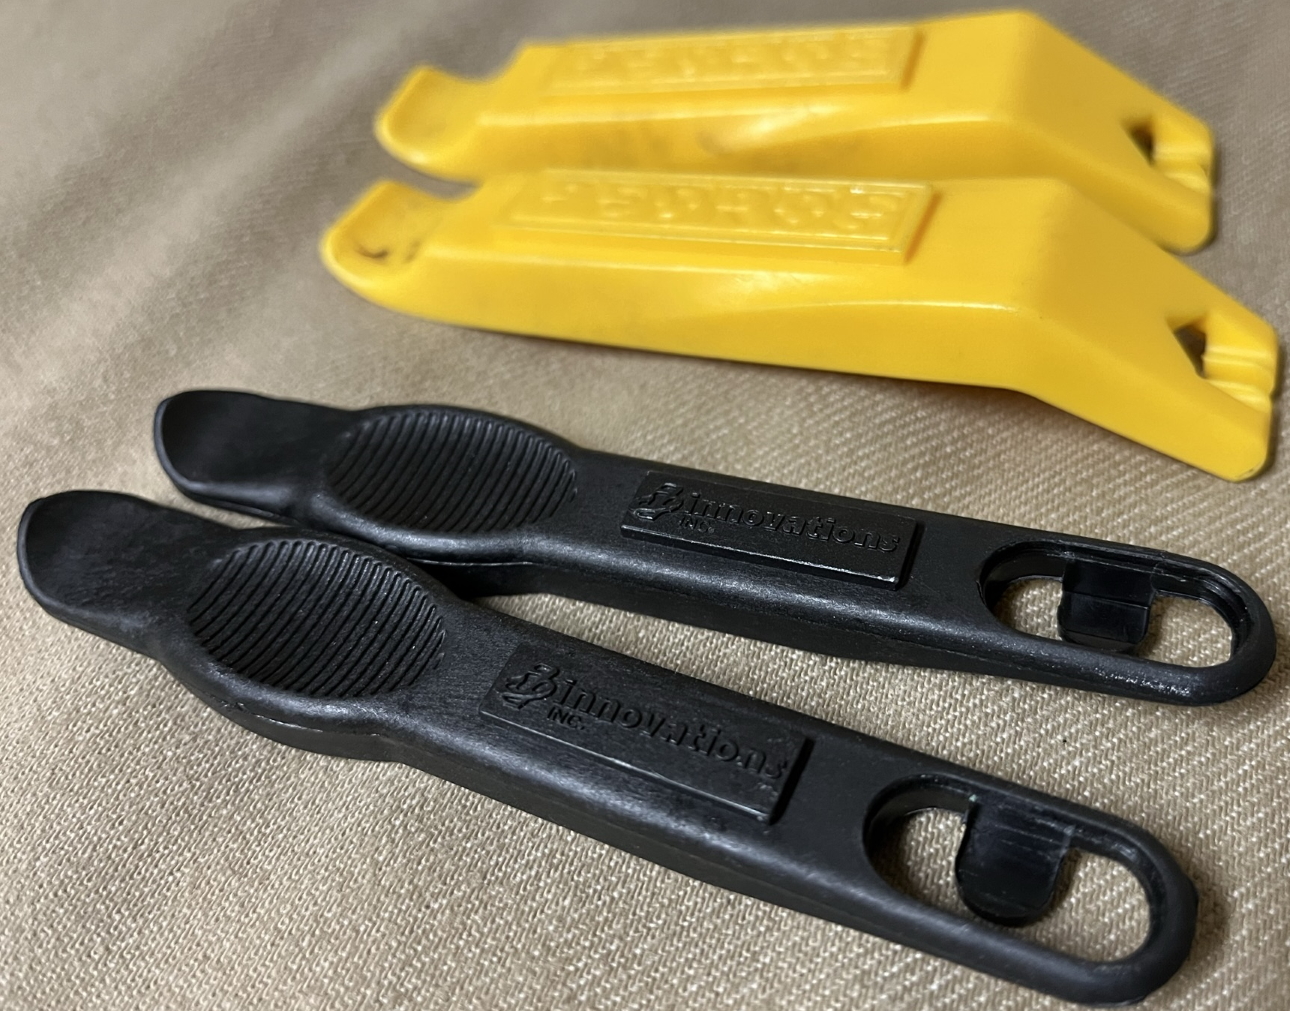 |
Tire levers | Used to install or remove the tire off of a bicycle rim. |
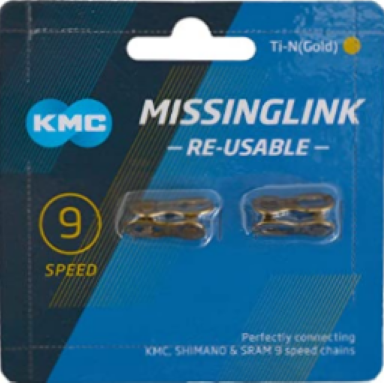 |
Quicklink (AKA Master Link or Missing Link) | When your chain breaks, the quickest way to get you back up and running (without having to resort to a chain breaker) is to use a quicklink (also known as "missing link" or "master link"). IMPORTANT: Make sure that you have a link that matches your bicycle chain; this is because the higher the number of speeds a chain is designed for, the narrower the chain (and therefore the quicklink) is. NOTE: There are reusable quicklinks and non-reusable (single use) ones. NOTE: Some bicycle multitools can even hold the quicklink for you, saving you a little bit of space in the saddle bag. More on this below. |
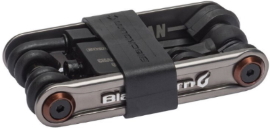 |
Bicycle Multi Tool | Look for a bicycle-specific multi-tool that mets your needs. Some have tools specific to disc brakes, or tubeless tires, can hold a quicklink and/or have a spoke wrench for minor wheel truing. Buy a multitool with a chain breaker (also known as "Chain tool") built-in (make sure that the chain breaker is compatible with your chain (number of speeds)). Here are some examples which all have a chain breaker:
Topeak Hexus X: For rim brake bikes or road bikes or where saddle bag space is at a premium (tire levers built-in) Crank Brothers M17 or M19: Same requirements as above, but you will provide your own tire lever Blackburn Tradesman: For disc brake bikes with inner tube tires (you have to provide your own tire lever) Lezyne Super SV 23: For bikes with tubeless tires (you have to provide your own tire lever, but this multi-tool otherwise has the most tools for the amount of space). There is also a lower model (Super SV 22; weighs less) which has everything except the tubeless tire-specific tools. TIP: A beginner might believe that there is no need for a chain breaker if using a master link, but in the field, you need to break the chain a bit (using the chain breaker) to make room for the master link. |
| Plastic Courrier / Mailing bags | The contents of your saddle bag will be exposed to vibration. Some items may rub against each other, resulting in damage over time. To mitigate this, you can wrap most of your saddle bag contents individually in multiple layers of those light gray strong courrier/mailing bags. See inside this saddle bag how the tire inner tube in this example is wrapped in multiple layers of this to prevent the tools next to it from damaging the tire inner tube. |
|
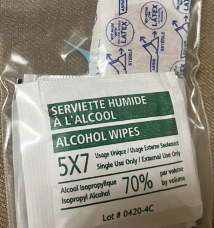 |
Bandages and sanitizing wipes | Comes in handy if you get cuts or scrapes during your ride. Put them in a thick resealable bag. Please note that there may be an expiry date for sanitizing wipes. |
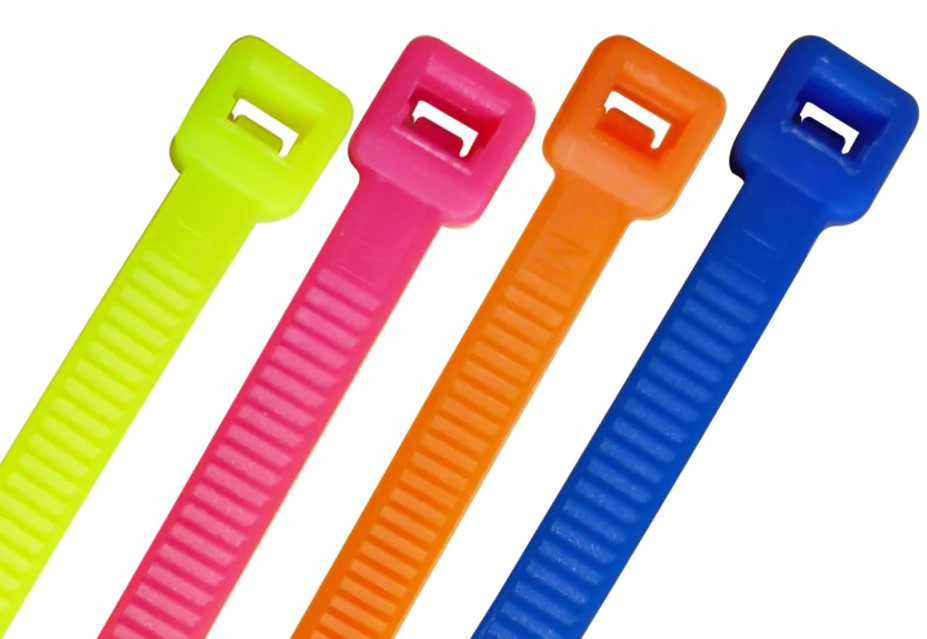 |
Zip ties (OPTIONAL) |
These do not take much space and could come in handy (for attaching objects to the bike such as race plates). |
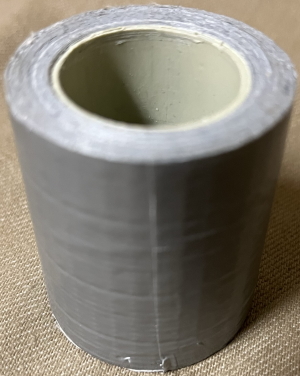 |
Duct tape (OPTIONAL) |
Just in case. This may come in handy should you encounter a loose spoke that needs to be secured until you get home, for example. You shouldn't need much so one trick to save space is to wrap a short length of tape to the handle of your pump (or another plastic object). |
 |
Schrader / Presta valve adapter (OPTIONAL) |
This allows a Schrader-compatible pump to pump a Presta valve, or the other way around. It's small (and easy to lose) so it won't take much space and gives you access to pumps different than the one you already have. |
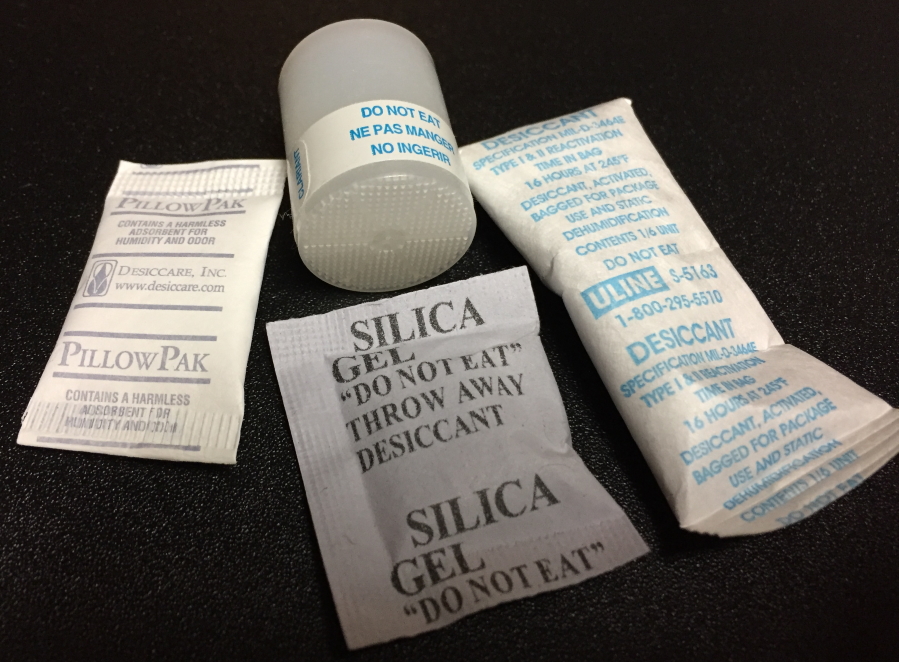 |
Desiccant pack (OPTIONAL) |
Depending on riding conditions, and unless your saddle bag has waterproof zippers, the contents of your saddle bag could be exposed to humidity. I throw a desiccant pack in there. NOTE: I keep the desiccant packs in a sealed container until I need to use them. |
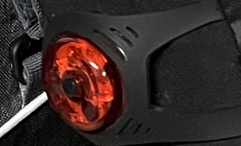 |
Flashing LED light (OPTIONAL) |
Lots of saddle bags offer a reflective strip, but also offer a place to strap in a mini LED flashing light (Red for the back). Mandatory (along with a stronger white light in the front) if you ride at night. They are not very expensive and are small enough to be kept inside the saddle bag for convenience. |
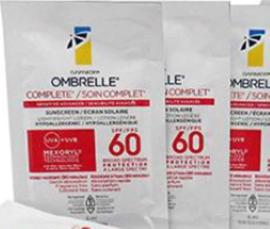 |
Sunscreen sample (OPTIONAL) |
If you are fortunate enough to receive one of those thin sample packets of sunscreen (mail promo; sample as part of an online order; giveaway at a sporting event; etc.), you can add this to your saddle bag kit as long as you have a thick resealable bag to put it in (separate bag as you would put the sanitizing wipes in). Please note that sunscreen has an expiry date; discard 3 years after purchase if no expiry date found. |
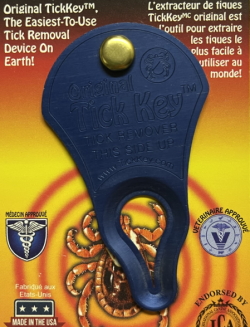 |
Tick key (OPTIONAL) |
If you use a liberal amount of bug spray with DEET, you will probably never need this. This tool is avaialble at pet stores and is used to easily and properly remove ticks (instructions on the back of the packaging) from children, adults, and pets. This is more of a "just in case" tool (and/or if you have kids who are afraid of ticks); I personally use DEET everywhere, especially my legs, and also avoid tall grass. |
Entry-level bicycle maintenance skills to learn
Here are some skills to learn to protect your bicycle investment and save yourself some trips to the bike shop and/or a long walk home (there are also many YouTube videos that can help you with this):
- How to Lay Down or Lean Your Bike: Real mountain bikes are not normally equipped with a kickstand. Not only is it a sign of being a total n00b, and it's extra weight, but it's also a bit of a hazard because it is something else that can get caught by branches, rocks and other things you would encounter along a real mountain bike trail. There IS a proper way to lay or lean your bike so as to not damage it and not requiring a kickstand. Same reasons for not using derailleur guards, but even more so because derailleur guards can damage your frame.
- Proper helmet fit: Click the link to the left to learn how to properly fit your helmet to your head. It seems silly but I wish someone told me this years ago instead of someone screaming at me during a bicycle race that my helmet was not tightened properly.
- MTB Saddle position: A bike shop usually helps you with a bike fitting (your mileage may vary there (one of my fittings was correct; another was not quite there)). However, you should know this for yourself as well so that you can experiment to find the position that works best for you.
- Quick Release skewer positioning: How to position your wheels' quick-release system.
- "Bedding in" disc brakes: The surface of a new brake rotor and pads are smooth. You need to "bed-in" (or break-in) the brake system (when you purchase a new bike or change the rotors and/or pads) before your first ride with the new brakes in order to roughen up the surfaces for better brake friction.
- Barrel adjusters: Using barrel adjusters to make fine corrections to shifting.
- Chain wear: Using a chain wear gauge to assess when to replace the chain before it breaks down other drivetrain components.
- Chain tool and Quicklink/MasterLink/MissingLink: Using a chain tool and quicklink (AKA Master Link or Missing Link) to fix a broken chain.
- Chain cleaner: Cleaning (and lubricating) your chain.
- Tire / inner tube change: Changing a bicycle tire and/or inner tube.
- Inner tube patching: Patching an inner tube (using pre-glued patches or self-vulcanizing patches (new method), or using rubber (from an old inner tube) and rubber cement (old school)) so that you can re-use it. Learn either method and see which one works best for you.
Specialty bike tools
More advanced bike-specific tools to keep at home:
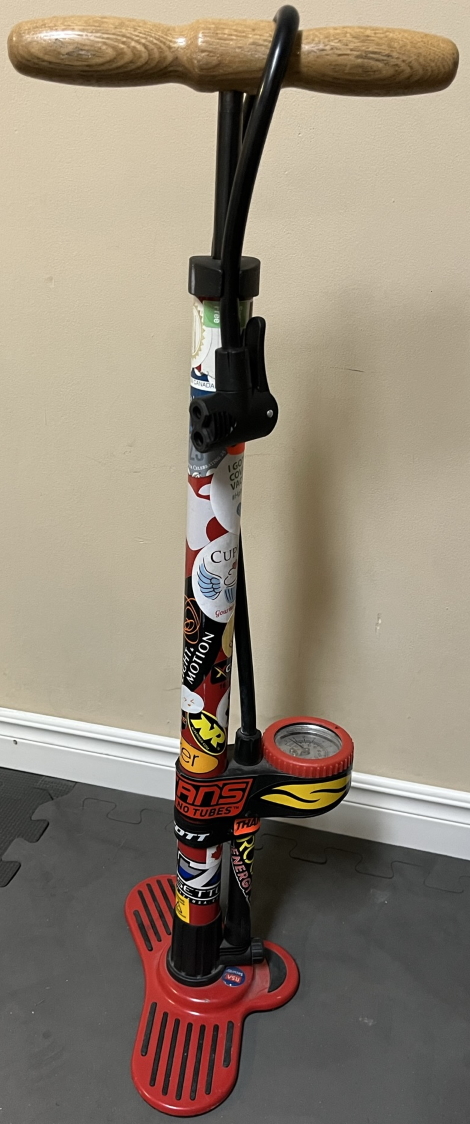 |
Floor pump (with gauge) | Choose a pump that can accommodate both Schrader (found on cars and low-end bikes) and Presta valves (usually found on higher-end bikes). Also make sure that your floor pump has a pressure gauge. The minimum and maximum tire pressures are indicated on the tire's sidewall. TIP: Road bikes have high pressures (close to or at the max) and lose their tire pressure faster than other bikes, so keep it topped up regularly. TIP: For Mountain bikes, do not go to the maximum pressure, or you will feel every bump and bounce around and not have as much grip. Go with the terrain. Some people have it not much higher than the minimum (grippiest but you need to pedal with more effort); some are happy with the middle of the min-max values for a balance between grip and low rolling resistance; some use higher pressure for lower rolling resistance if they are going to be on pavement or well-packed stone dust that entire day. Find a setting that you are happy with. TIP: On older pump heads with individual Presta and Schrader holes, if the air comes out of the wrong hole when you pump, disconnect the head from the valve and lightly tap the side of the head on the floor (to loosen the little ball inside the pump head that automatically covers the hole not connected to the valve), and try again. |
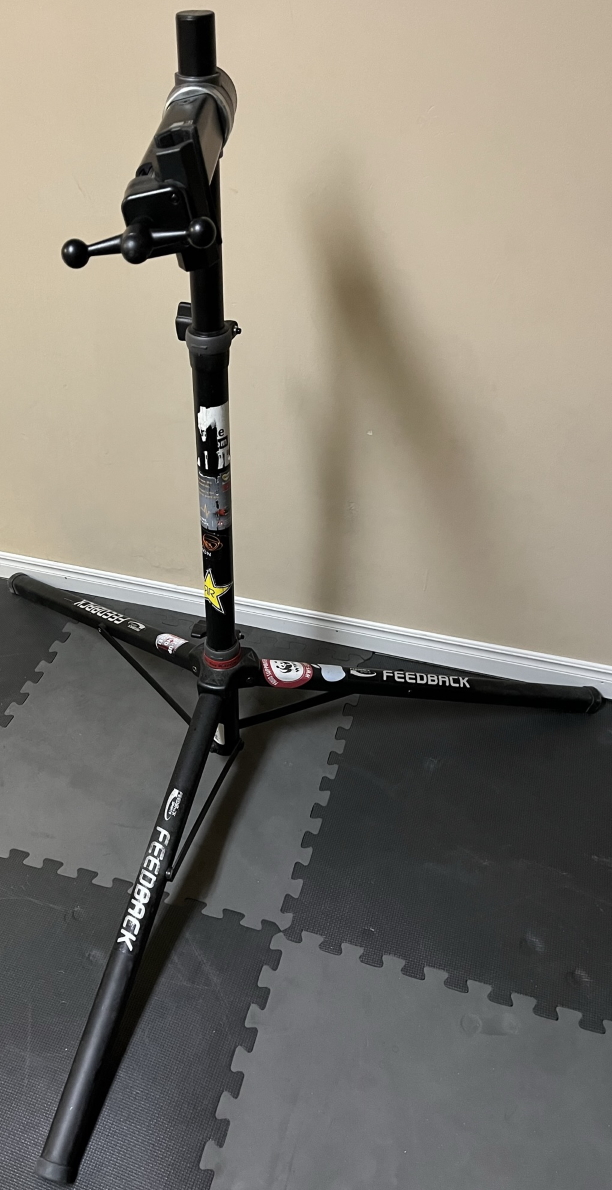 |
Bicycle repair stand | A bicycle stand makes working with bicycles so much easier; even the basic tasks mentioned above. Be wary of cheap bicycle stands, because they tend to have a low weight limit. Keep in mind that aluminum mountain bikes on the entry-level will weigh close to 40lbs once you add a saddle bag with multitool, spare tube, etc. A steel mountain bike with big tires (or even an aluminum fat bike) would be even heavier. |
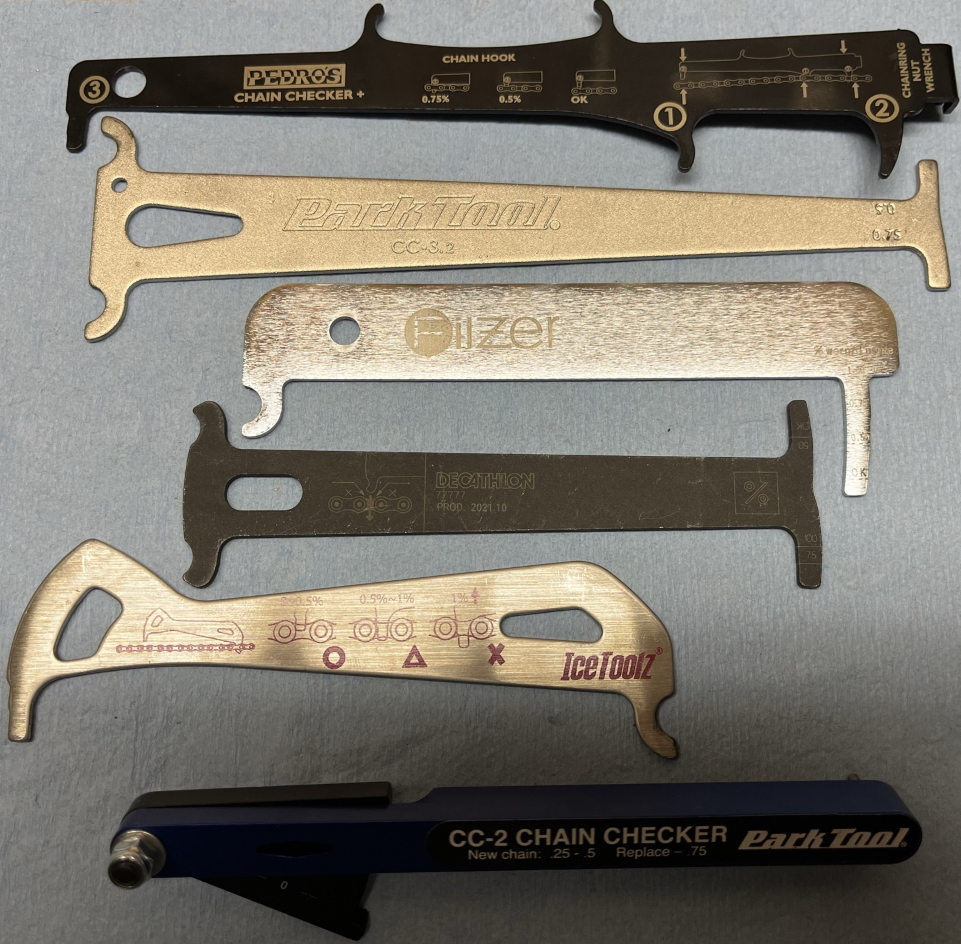 |
Chain Wear Gauge | A chain wears over time, and if the chain is not changed at its recommended wear level, the entire drivetrain (front and rear cogs) will see accelerated wear. Please see this comparison guide to chain wear gauges for more information as to which chain wear gauge to use (there are several available for purchase (and even one to make with your own 3D printer), but only two or three take the correct aproach to measure the wear). |
 |
3-way spoke wrench | This is used to adjust the spoke tension by turning the spoke nipples (the part connecting the spoke to the rim). Useful to correct any deviations in wheel rotation (called "truing" a wheel). If your bicycle multitool does not have a spoke wrench matching the size of your spoke nipples, and you won't be using this often, get a 3-way spoke wrench like the one pictured here because it will have the 3 common sizes for regular spokes in the same tool. |
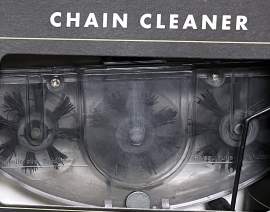 |
Chain cleaner | A bicycle chain will not only accumulate grime from the elements over time, but will also produce small metal shavings from its own use. All contributing to accelerated wear of the chain if left uncleaned. Please see this guide to cleaning and lubricating your chain for more information. TIP: In order to catch those metal shavings and prevent them from going back on the chain, choose a cleaner with a magnet, or glue your own magnet to the bottom of your cleaner. |
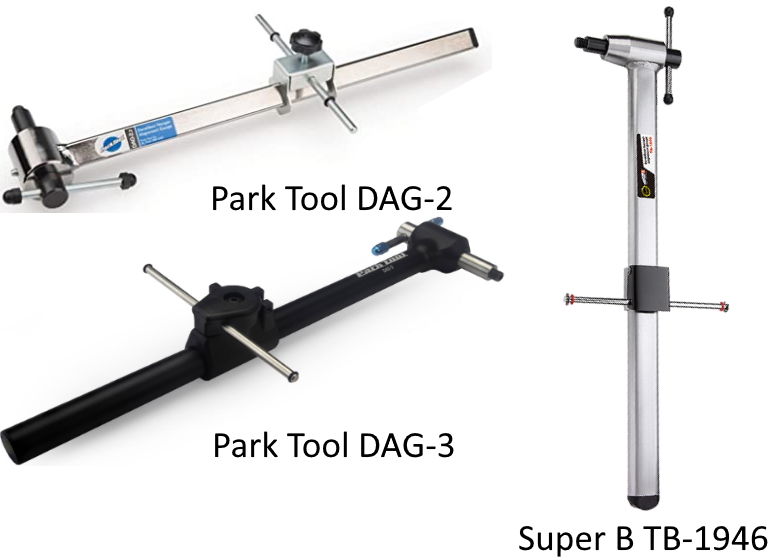 |
Derailleur Hanger Alignment tool | When you lay a bike on the wrong side (or when it falls on the wrong side) wrong side being the drive side (the side with all the gears), there is a piece of metal called a hanger that hangs between the rear wheel axle and the derailleur. This part is designed to bend and/or break before before your more expensive frame and/or derailleur. You need a tool to realign this hanger, otherwise shifting gears will be severely affected. Park Tool offers an expensive tool (all their tools are pricey but they tend to be the best, and they made it even better with the DAG-3), but it is durable and reliable. There are cheaper knockoffs on Amazon, but only a bike mechanic would be able to compensate for the extra millimeters of play (multiplied by length of leverage) those knockoff devices unfortunately have. If you really want a cheaper alternative to Park Tool (can't blame you because it is rarely used), then you may want to consider the "Super B TB-1946 Derailleur Hanger Alignment Gauge" (I own a few Super B tools, and they are sold at bike shops; however, I have not tried their TB-1946, because I splurged on the Park Tool DAG 2.2 a few years ago). However, you may have to find a bike shop that sells Super B products and see if they can get custom order it for you, because it is not as easily available as the Park Tool version. |
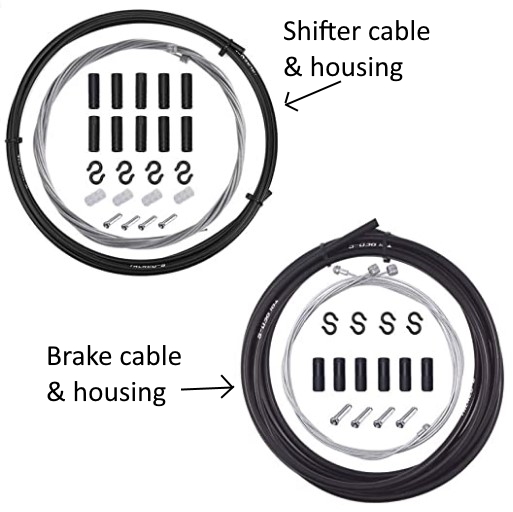 |
Shifter and/or Brake Cable and Housing kit | Some shifting problems can be solved by replacing the shifter cable and housing, especially after years of use. There is also a difference between shifter cable and brake cable (the brake cable is thicker and has different metal endings) and they have their own separate cable housings (the brake housing is thicker) as well. Best left to your local bike shop if you do not know how. |
Extras to keep in your car
Here are more tool ideas, but those are kept in our car (or the vehicle you will use to carry your bike(s)):
- Multitool device featuring pliers/wire cutters: Pliers are handy for crimping cable crimp ends and cutters are handy for cutting zip ties holding race plates. The example in the URL to the left is the smallest one I own but I also have a regular-sized Leatherman-styled tool.
- Spare Schrader or Presta valve caps: these plastic caps are inexpensive, and you should have a few of the Schrader ones for your car anyway.
- Spare cable crimp ends: In case someone loses one of those metal crimp ends that prevent the cables from fraying and scratching you. I keep a few in a small container along with the above-mentioned valve caps.
- Small First Aid kit: You should have one in your car anyway.